


Let us help you get your project done
We’re excited to hear your project.
Let’s collaborate!
Not sure? Call us (416) 243-2431.

If you are planning to move your site or project to Drupal 10, it means that you already know about the new exciting features that come with Drupal 10 out of the box (Layout builder, new performance enhancements) then this article is right for you !
During my time working as a Drupal Developer, I’ve completed many migrations from older Drupal versions to newer versions, and for each migration I’ve faced different challenges with a different degree of complexity, specially when it comes to migrating Drupal 7 sites to the newer Drupal 10 core, thankfully there is plenty of online documentation on how to migrate D7 sites to D10, with some useful tips that can streamline the process, reducing potential errors significantly.
There’s a different story when you attempt to migrate from other CMSs to Drupal. Migrating from other CMSs like WordPress, Magento, Joomla, or even plain HTML sites to Drupal 10 presents a unique set of challenges. Unlike Drupal upgrades, there is not a lot of documentation around, and you are not sure if you can rely on the core/contrib migrate modules or you might need to build something custom for that.
Thankfully, the core migrate modules in combination with with the contrib modules available in the Drupal Ecosystem can help you in migrating not only from other CMSs, but also from from plain static HTML pages, ASPX pages and even from sources such as external REST API URLs. At OPTASY, we've developed a refined methodology that leverages both existing modules and custom development to ensure a seamless migration.
Migrating to Drupal 10 can be complex, especially when coming from another CMS. Many businesses make the mistake of underestimating the time and resources required for a successful migration. Some may opt for cheaper, less experienced developers, which can lead to costly errors and delays down the line. At OPTASY, we've successfully migrated numerous websites to Drupal 10, including a WordPress migration to Drupal 10. Our proven methodology ensures a seamless transition, minimizing downtime and maximizing the benefits of Drupal 10's new features.
This article will show you some common scenarios and some common pitfalls in performing these types of migrations and how you can leverage some of the complexities in existing solutions for that.
Hi! I'm Daniel Rodriguez, a Senior Drupal Developer at OPTASY with over 20 years of experience in the field. I started my Drupal experience back at the University of Ottawa as a junior Drupal Developer and from there have worked on over 150 Drupal projects throughout my career. I specialize in complex site migrations and backend solutions, and I'm passionate about helping businesses leverage the power of Drupal to achieve their online goals.
It is a good idea to do an assessment of your current site and make sure that it has the latest software updates and you have a backup of your data just in case something goes horribly wrong:
Is your current site running on WordPress? Magento perhaps? Or Custom PHP/ASP pages? Not a problem, for each scenario, Drupal provides many out-of-the-box modules that can help you as a starting point of the migration process.
Make sure to delete stale content in the old site, and also disable/uninstall plugins, forms, and other pieces of functionality that you won’t need in the new Drupal site.
Make a list of all the forms, plugins, and custom solutions that your site has, now, can they be replaced by existing Drupal Contrib modules? We already know that we can rely on the webform module for creating the existing forms in your shiny new Drupal site, but what about these custom plugins that someone developed and set up in your site a long time ago? Can’t find a stable replacement for that? Not a problem, we can help you with that !
The migration process will be easier if you want to keep the existing design in the new Drupal site, because you can reuse the existing assets (CSS/JS files) and HTML templates (if any) in the Drupal theme you will develop and install in your new site. If you want a new look-and-feel of your site, this is the perfect opportunity to do so, and you can still reuse some of the old assets.
WordPress has a plugin that allows you to export all of your site data to CSV, XML or Excel files. If your current site doesn’t have capabilities to do that, not a problem ! At OPTASY we have a team of experts who can help you in exporting your data in any format for your future needs.
If you haven’t done it already, you can use composer to download the latest stable Drupal release available (Drupal 10.2.6 at the time of this article) and its dependencies, and then follow the instructions to install Drupal in your hosting environment, then install some basic contrib modules that you should install as a starting point, I suggest installing these modules first:
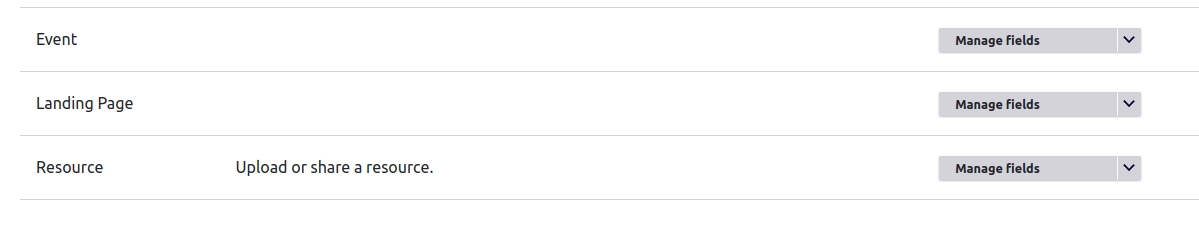
Review your current site, identify the different types of content that your site has, for example, your site might have some basic pages with some text and an image, and blog articles with text, image, tags and related content. For each type of content you will need to create a content type in your new Drupal site.
For illustration purposes, I have created the “Resource” Content Type, which I’ll use to import some content from an old WordPress website:
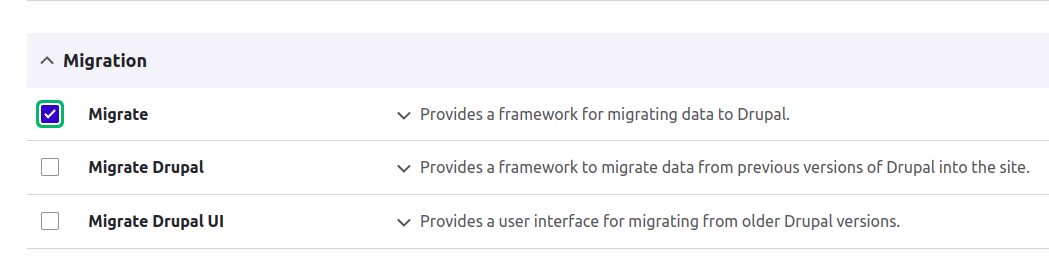
Drupal 10 comes with some core migrate modules out of the box:
Let’s start by enabling the “Migrate” module for now:
There’s also a few modules that you must install if you want your migration process to be smooth:
So it’s a good idea to have these installed:
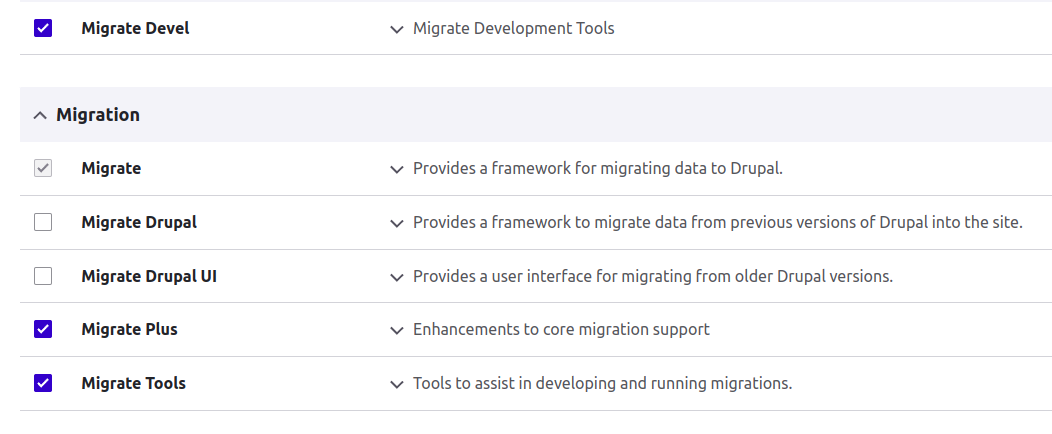
In addition to these modules, depending of the source of data to be migrated (CSV/HTML/XLSX), you’ll also need to install these modules:
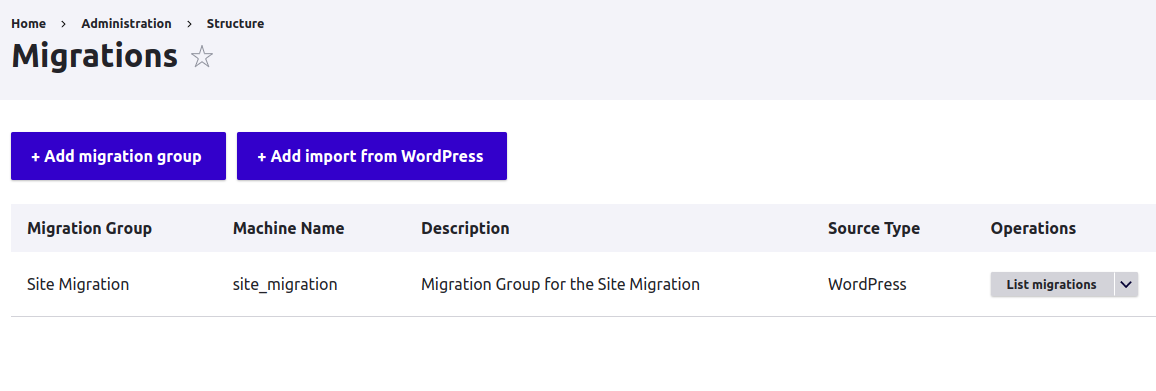
Before creating the single migration entities that represent the migration you want to run, we have to create a migration group first: From the admin menu, go to Structure > Migrations, you will see a page like this:
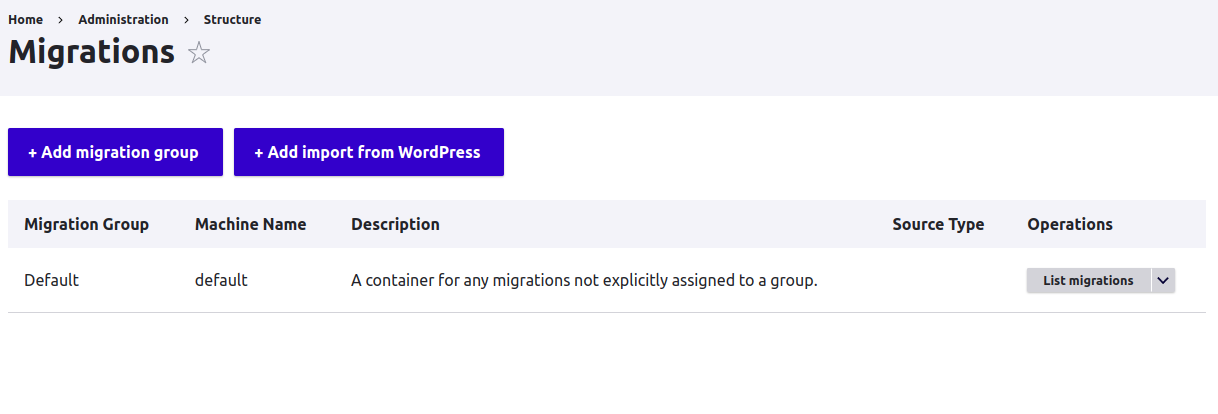
You’ll use a migration group to keep all the migration entities under a single place. Click on “Add migration group” and let’s add a new migration group for our purposes:
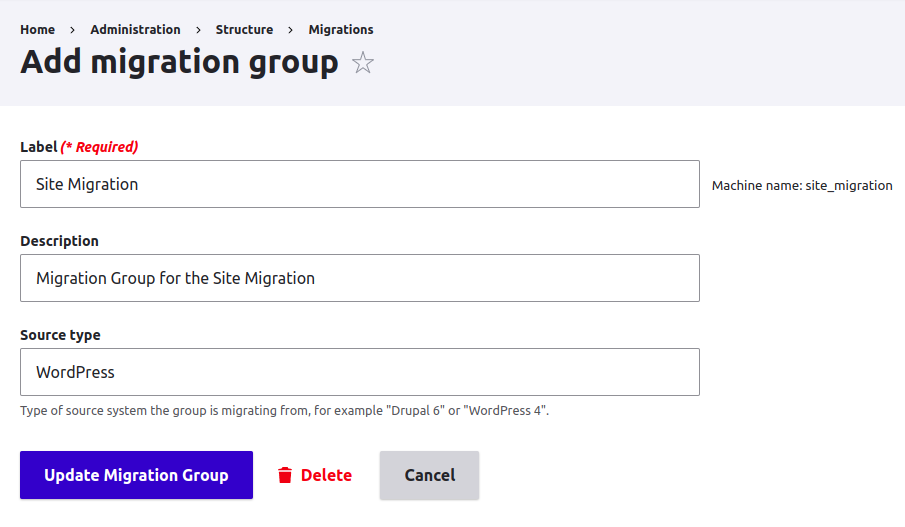
I also deleted the “Default” group as well:
Next step is to create the migration entities, these are YML files that are usually placed in the config/sync directory and follow the file pattern migrate_plus.migration.[migration_id].yml , where migration_id is the ID of the single migration entity. This YML file has a special format and It should look like this:
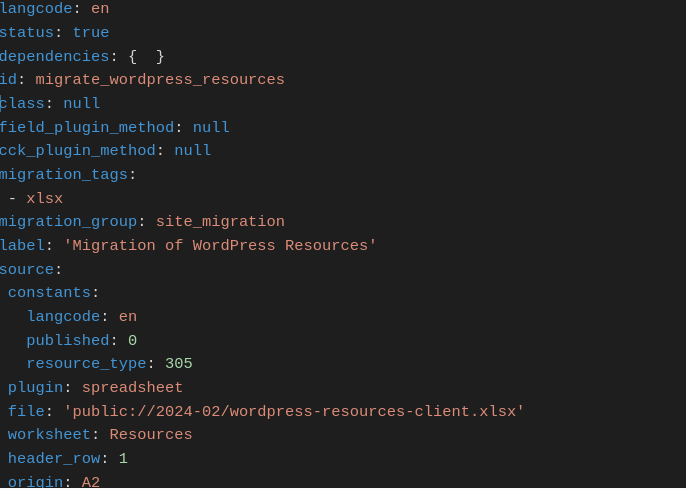
You can see a data structure with many key-value pairs and other structure definitions, the key-value pairs:

Set the ID of the migration to entity to migrate_wordpress_resources, the title to Migration of WordPress Resources and will belong to the group site_migration we just created in the previous step above.
We will use the spreadsheet plugin to import the data from an Excel spreadsheet, located in the files directory, the name of the worksheet is Resources and the header is in the first row of the document:

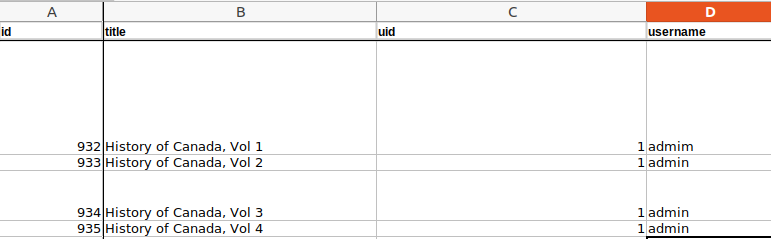
This is the structure of the source XLSX file:
I won’t go into details on the entire content of this YML file, there’s a lot of options that you can set in your migration entity, please refer to the online documentation for that.
If you are not sure how to create a YAML file for a migration entity, At OPTASY we can help you create a whole migration plan designed for your site’s needs, along with the definition of the migration entities.
I saved the YAML contents in the file config/sync/migrate_plus.migration.migrate_wordpress_resources.yml and then I imported the new config changes using drush, then go to the Migration admin page and we can see the newly created migration entity:

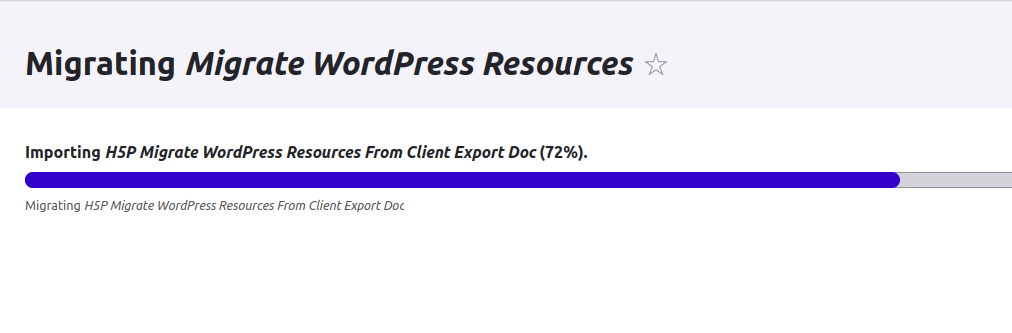
Finally, we can execute the migrations by clicking on Execute from the Operations column, or use the migrate:import drush command, I’ll execute the migration from the admin panel:
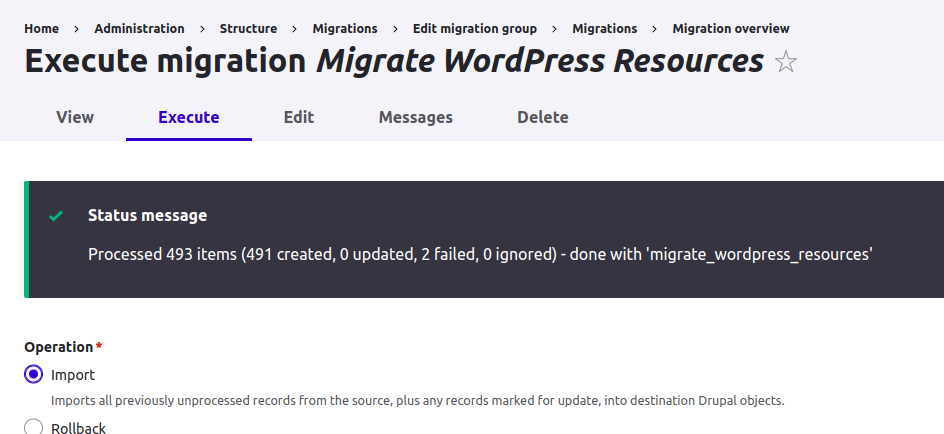
We can see that the migration execution have created 491 new “Resource” nodes, and we can see that by going to the Admin Content panel:
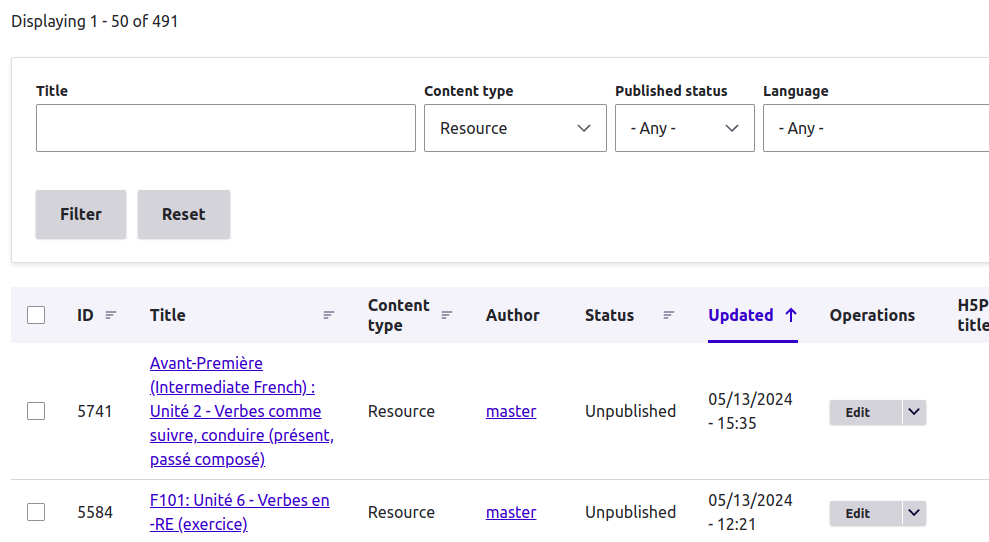
Review the migrated content, make sure all the fields have the expected data, review the database log (if enabled) to check for any errors when executing the migration.
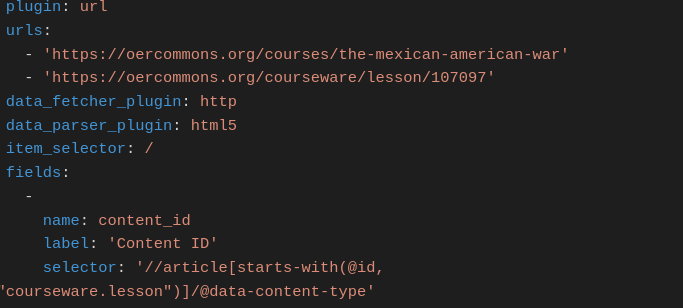
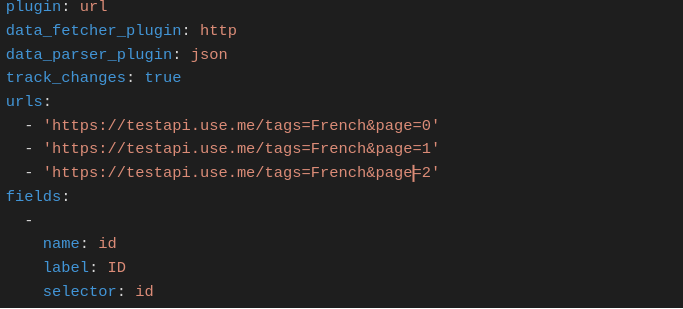
For the example above, I’ve used the “spreadsheet” plugin that I’ve used to import content from a WordPress site (I’ve used a WordPress plugin to export the Excel spreadsheet for me), but I can migrate content from HTML pages by using the “url” plugin:
Or even from a REST Endpoint API !
Please review the documentation for each plugin for more information on how to use these for your specific needs.
Migrating to Drupal from another CMS involves meticulous planning and execution, but with the right preparation, it can lead to significant improvements in site performance, flexibility, and scalability. By following the detailed steps outlined in this guide—from evaluating your current CMS and cleaning up existing content to setting up the necessary Drupal modules and configuring new content types—you can ensure a smooth transition.
Remember, the goal is not just to move your data but to enhance your site's functionality and user experience. Should you encounter challenges along the way, the team at OPTASY is equipped with the expertise and experience to assist you, ensuring that your migration to Drupal is successful and your new site is positioned for future growth.
Please refer to the plugins documentation on how to use them and set the parameters, or contact us for a quote if you need extra support on that !
We’re excited to hear your project.
Let’s collaborate!