We’re excited to hear your project.
Let’s collaborate!

About to build your very first Angular app? Then you must be planning to create an Angular project with Angular CLI, right? The much-acclaimed tool that the Angular team built precisely to jumpstart the whole development process.
… to have a simple app scaffolded, generated and deployed in no time, by entering just a few commands (so they say, at least).
And since I'm sure that you don't want to waste these bundles of convenience by letting yourself tangled up in overly complex explanations instead, I've kept things simple with this guide.
So, here's how you create and run your first Angular project via the Angular command-line interface:
Take this command-line interface as a starter kit “present” that the Angular team has nicely wrapped for you:
Now, this is what I call a major kickstart! It's got you covered from the stage of setting everything up, to creating the Angular project itself, to testing it and finally deploying it.
Other key usages of the Angular CLI that we're not going to focus on in this tutorial here are:
Before you jump to the part where you create an Angular app using Angular CLI, you need to install the command-line interface itself. Globally!
And this is the “power” command to enter in your terminal with the npm installed:
npm install -g @angular/cli
Notes:
npm uninstall -g angular-cli
npm uninstall --save-dev angular-cli
And there's more! A few more must-have dependencies that you need to make sure that are already installed and upgraded to their latest versions:
With your command line interface ON, use it to enter THE one and only command that will generate a new Angular project for you. One incorporating, by default, all the needed dependencies:
ng new ng-yourproject
Tada! A “yourproject” named directory has just been generated. That's where your new Angular project — along with all the requested dependencies — gets stored.
Eager to test it out? Just run the following command in your terminal:
ng serve
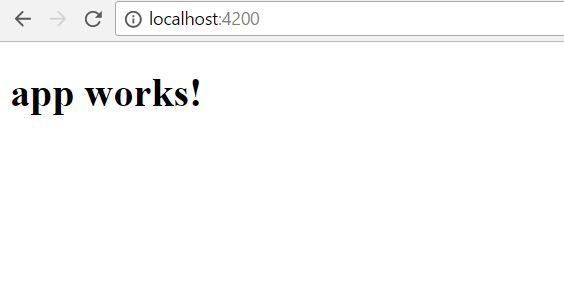
Your Angular app will then get built and served up to localhost:4200. Feel free to open this URL in your browser and it's the here-below screen that you should be able to see:

Basically, it's the default application shell itself rendered by the CLI.
Now, before you go ahead and do your “tweaking” on your newly created app, let's see what you've got in there! What are the elements that the CLI has generated for you to help you jump to development right out of the box?
For this quick “scan”, open your Angular project in your IDE of choice and start “exploring” your src/folder:
src/*
styles.css
index.html
src/app/*
app.component.ts
app.module.ts
Remember your “one and only component” that I mentioned during the previous “inventory” of all the “bunch of stuff” that CLI has generated in your project?
Well, how about creating a new one now? One that would load under that root component?
Just run the following command to generate it:
ng generate component the-quote
Next, time to “show it off” in your browser:
<h3>{{myQuote.quote}}</h3>
<small>- {{myQuote.by}}</small>
Add the app-the-quote selector to the root component that the CLI generated in your Angular project:
<h1>
 {{title}}
</h1>
<app-the-quote></app-the-quote>
Now you do agree that when you create an Angular project with Angular CLI applying styling is a key step.
So, let's add your favorite CSS framework to your new application!
Me, it's Bulma that I'll be using in this tutorial here:
npm install bulma --save
With our CSS framework installed, we'll need to enable it to load the CSS file into our Angular app. For this, just place the relative path within the .angular-cli.json file., to the file in the styles array more precisely.
...
 "styles": [
        "../node_modules/bulma/css/bulma.css",
        "styles.css"
      ],
...
“Tempted” to display some icons now, as well? Then go ahead and add the font-awesome library as cdn link.
For this, just include the stylesheet right into your index.html:
<link rel="stylesheet" href="https://maxcdn.bootstrapcdn.com/font-awesome/4.7.0/css/font-awesome.min.css">
Et voila! This is how you create an Angular project with Angular CLI!
What do you think? Is the Angular command-line interface an extremely useful tool to jumpstart your project with or did you expected your “starter kit” to include, right out-of-the-box, more elements to get you started?

We’re excited to hear your project.
Let’s collaborate!